
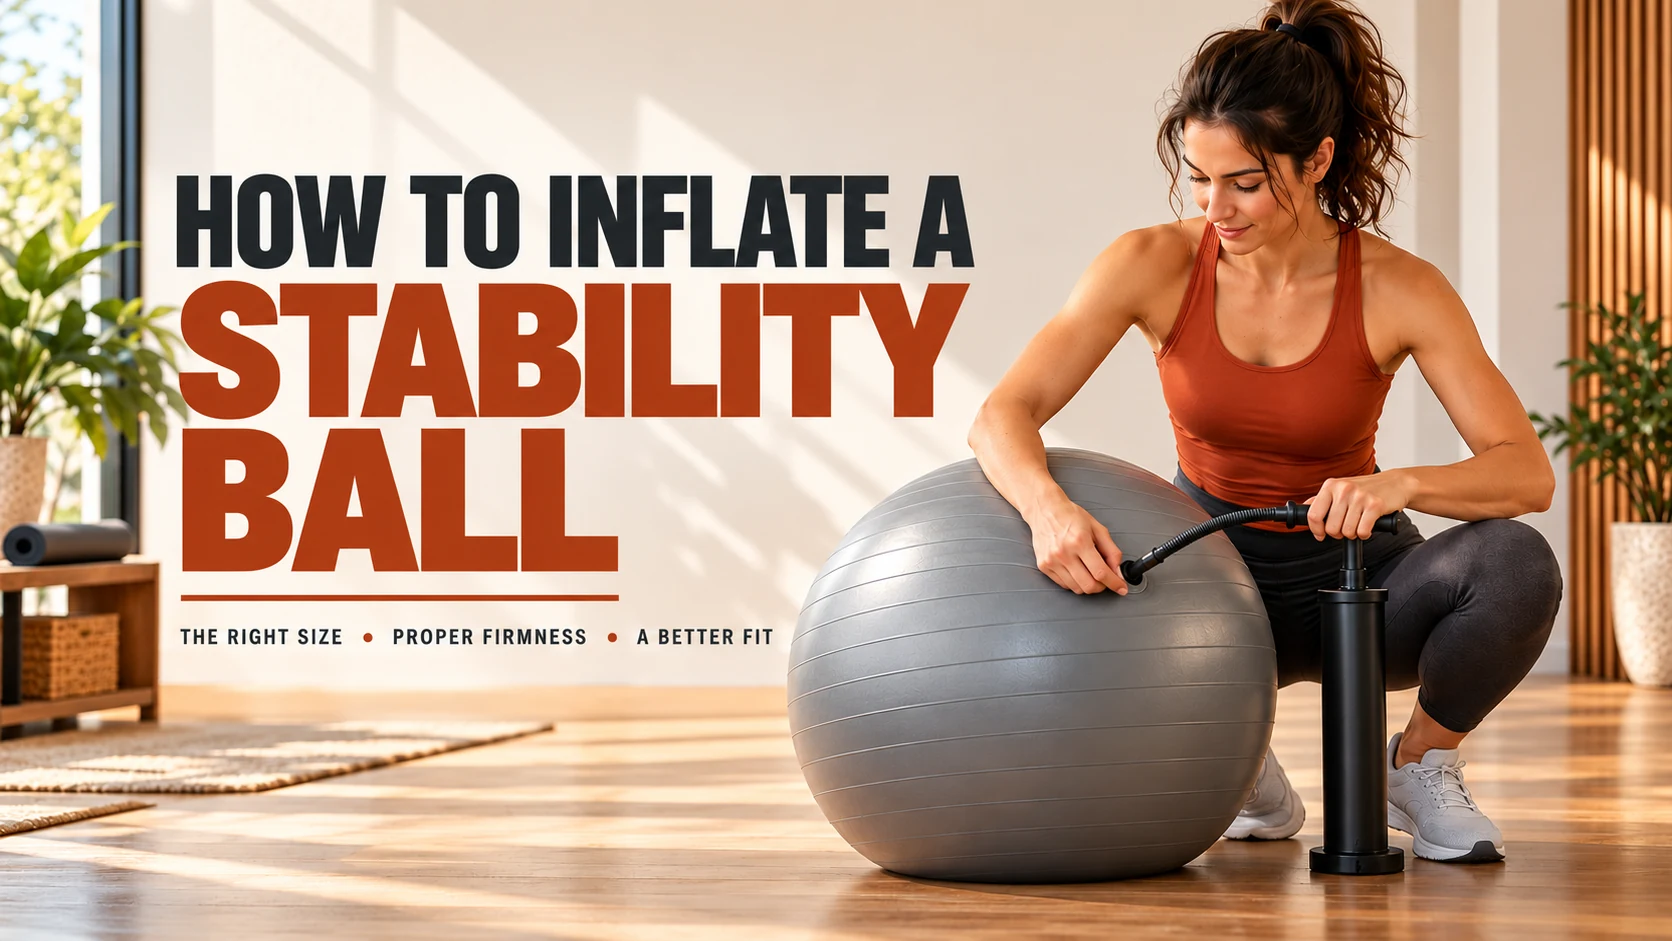
To inflate a stability ball correctly, use a compatible hand or foot pump, add air gradually, and measure the ball’s full diameter rather than guessing by firmness. Stop at the diameter listed for your specific ball, install the plug securely, and perform a simple seated fit check before exercising.
A stability ball can look almost full while still being several centimeters smaller than its intended size. It can also feel very firm before it actually reaches the correct diameter. That is why the most useful inflation check is usually diameter—not pressure and not firmness alone.
Stability balls are also sold as exercise balls, Swiss balls, yoga balls, and balance balls. Regardless of the name, the basic setup is similar: inspect the ball, use the correct pump fitting, inflate gradually, measure the diameter, install the plug, and test the ball before placing your full body weight on it.

What You Need to Inflate a Stability Ball
Confirm the listed diameter.
Use the included hand or foot pump when possible.
Use the fitting intended for the valve.
Check the ball’s finished diameter.
Most exercise balls include a basic pump, one or more plugs, and sometimes a plug-removal tool. Keep the plug within reach before you begin because some air can escape while you switch from the pump nozzle to the plug.
Avoid using sharp objects to remove the plug. A screwdriver, knife, or other pointed tool can damage the valve opening or surrounding material.
How to Inflate a Stability Ball Step by Step
Confirm the Ball’s Target Size
Look for the diameter printed on the ball, box, product listing, or instruction sheet. Common sizes include 45, 55, 65, and 75 cm, but other diameters also exist.
The number refers to the ball’s approximate diameter when properly inflated. A 65 cm ball, for example, is intended to measure about 65 cm across at its widest point when set up according to the manufacturer’s directions.
Inspect the Ball Before Adding Air
Unfold the ball on a clean floor and inspect the surface. Look for cuts, punctures, seam damage, discoloration, or obvious defects around the valve.
If the material appears damaged, do not inflate the ball for exercise use. Also make sure the floor is free of screws, staples, sharp grit, pet claws, or anything else that could puncture the surface.
Insert the Correct Pump Nozzle
Remove the valve plug and insert the compatible pump fitting. The nozzle should fit securely without needing to be forced.
If the included pump has more than one adapter, use the one specified for the ball. Do not assume that a sports-ball needle or unrelated pump fitting is appropriate.
Inflate the Ball Gradually
Add air with smooth pump strokes and rotate the ball occasionally so the material can expand evenly. Stop periodically to check its shape and size.
Some manufacturers recommend an initial partial inflation followed by a rest period before bringing the ball to its final diameter. If your product includes that instruction, follow it rather than trying to reach full size immediately.
Measure the Diameter
Place the ball on a level surface and measure across its widest point. An easy alternative is to mark the target height on a wall, position the ball beside it, and inflate until the top of the ball reaches the mark.
Do not keep pumping simply because the ball still feels a little soft. The listed diameter is the more useful limit.
Install the Plug Securely
Keep the plug ready. Remove the pump nozzle and press the plug firmly into the valve opening. A small amount of escaping air during the switch is normal.
The plug should sit evenly and securely. If it repeatedly works loose or the ball loses air quickly, inspect the plug and valve before exercising.
Let the Ball Settle if Required
New PVC exercise balls can continue stretching after initial inflation. Some brands recommend letting the ball rest for several hours or overnight before checking the diameter again.
Re-measure before adding more air. Do not automatically top it off without checking the actual size.
Perform a Controlled Fit Check
Place the ball on a clean, nonslip surface near a sturdy support. Sit down slowly with both feet flat on the floor.
Check whether the ball compresses excessively, feels rock hard, or places you in an awkward seated position. If something feels wrong, step off and check the diameter before adjusting the air.
How Do You Measure Stability Ball Diameter?
The size printed on a stability ball refers to its diameter. That means the distance from one side of the ball to the opposite side through the center.
Measuring a round, flexible object with a tape can be awkward, so one of the easiest methods is to use a wall:
- Find the target diameter listed for your ball.
- Measure that height from the floor and place a small removable mark on the wall.
- Set the ball beside the wall on a level surface.
- Inflate until the top of the ball is approximately level with the mark.
- Stop rather than intentionally exceeding the stated size.
| Common Ball Size | Approximate Diameter in Inches | What to Remember |
|---|---|---|
| 45 cm | 17.7 in | Smaller ball commonly used by shorter users or for specific exercises. |
| 55 cm | 21.7 in | Common general-purpose size for many shorter adults. |
| 65 cm | 25.6 in | One of the most common adult exercise-ball sizes. |
| 75 cm | 29.5 in | Often selected by taller users or when an exercise requires a larger ball. |
These dimensions describe the ball, not a universal user-height prescription. Different brands publish different sizing ranges, and exercise choice can also influence which diameter works best.
For a more detailed fit comparison, use our complete stability ball size chart.
How Firm Should a Stability Ball Be?
A properly inflated stability ball should feel supportive but not rigid like a hard plastic shell. The surface should have some controlled give when you press on it or sit on it.
Firmness matters, but it should be adjusted within the manufacturer’s size limit. Do not keep adding air beyond the listed diameter just to make the ball feel harder.
If the Ball Feels Too Soft
- Check the current diameter first.
- Inspect the plug for slow air loss.
- Add air only if the ball is still below its intended size.
- Recheck the diameter after adding a small amount.
If the Ball Feels Too Firm
- Measure it before changing anything.
- Release a small amount of air if it exceeds the target size.
- Reinsert the plug securely.
- Test the ball again with a simple supported position.
A softer ball may compress farther under body weight, while a firmer ball may feel more responsive. Neither setting is automatically better. Exercise technique, control, and manufacturer limits matter more than making the ball as hard as possible.
How to Check Stability Ball Fit After Inflation
Once the ball is at the correct diameter, perform a simple seated check before using it for a workout.
- Place the ball on a level, nonslip surface.
- Stand beside a wall or sturdy support.
- Sit slowly near the center of the ball.
- Keep both feet flat and comfortably apart.
- Check your hip and knee position without forcing an exact angle.
Many general sizing guides use a seated position near 90 degrees at the knees as a starting reference. However, body proportions, ball compression, shoe height, and exercise choice can change the final position.
If the ball is clearly too small or too large for the movement you want to perform, changing to a different ball size is usually better than deliberately overinflating or underinflating the wrong size.
Should You Inflate a New Stability Ball in Stages?
Sometimes. New inflatable exercise balls may need time for the material to stretch and settle. Some manufacturers specifically recommend inflating the ball partway, waiting, and then finishing the inflation later.
If your instructions call for staged inflation, follow that process. Do not assume that every stability ball needs the same waiting period.
After the rest period, measure the ball again. The goal is still to reach the intended diameter—not to make the ball as firm as possible.
Can You Use an Electric Pump?
A low-pressure electric inflator can make setup faster when your ball’s manufacturer permits it and the correct nozzle is available. The downside is speed: an electric pump can overshoot the target diameter much faster than a manual pump.
If you use one, inflate in short bursts and measure frequently. Avoid high-pressure compressed-air sources unless the manufacturer specifically approves them.
Common Stability Ball Inflation Problems
The Ball Will Not Reach Its Listed Size
Stop and check the instructions before continuing to pump. A new ball may need time to stretch after initial inflation. Also confirm that you are measuring the diameter correctly.
The Ball Looks Lopsided
Place it on a level floor and allow the material to settle. Rotate the ball and inspect it for uneven expansion, seam damage, or a manufacturing defect. Do not exercise on a ball that remains visibly distorted or damaged.
The Ball Loses Air Quickly
Check that the plug is clean, undamaged, and fully seated. Rapid or repeated air loss may indicate a puncture, damaged valve, or seam problem.
The Pump Nozzle Does Not Fit
Do not force it. Use the adapter supplied with the ball or another fitting that the manufacturer identifies as compatible.
The Ball Is the Right Diameter but Feels Soft
Some balls naturally feel more compliant than others. If the diameter is correct, do not exceed the stated size just to create a harder surface. Check the product instructions for any model-specific firmness guidance.
The Ball Feels Too Small When Sitting
First verify that it is fully inflated to its listed diameter. If it is and the seated position is still too low, you may need a larger ball rather than more air.
Care, Temperature, and Storage
- Keep the ball away from sharp objects and rough surfaces.
- Store it away from heaters, open flames, and prolonged direct sunlight.
- Keep pets with sharp claws away from the ball during use and storage.
- Inspect the surface and plug before workouts.
- Recheck diameter if the ball has been stored in a much colder or warmer environment.
- Do not place heavy equipment on top of the inflated ball.
Temperature can change how an inflatable ball feels. Air contracts when cooled and expands when warmed, so a ball moved between a cold garage and a warm room may feel different even when no air has been added or removed.
Let the ball return to the room where you plan to use it before making a major inflation adjustment.
Stability Ball vs. BOSU Inflation
A full stability ball and a BOSU-style half-ball trainer are both inflatable, but they are measured differently.
A full stability ball is generally checked by its overall diameter. A half-ball trainer is typically checked by the dome height specified for that model.
If you own a half-ball trainer, use our separate guide on how to inflate a BOSU ball rather than applying full stability-ball measurements to it.
If you are deciding between the two equipment types, our half ball vs. full stability ball comparison explains where each design works best.
Frequently Asked Questions
How much should I inflate a stability ball?
Inflate it to the diameter specified by the manufacturer rather than using firmness alone. Common exercise-ball sizes include 45, 55, 65, and 75 cm. Do not intentionally exceed the listed diameter.
How do I know when a stability ball is fully inflated?
Measure its widest diameter and compare it with the size printed on the ball or packaging. The ball should feel supportive with some controlled give.
Should a stability ball be hard?
It should be firm enough to support the intended exercise while still having some give. A rock-hard feel is not a reason to exceed the ball’s specified diameter.
Can I use a bicycle pump?
A bicycle pump may work if you have a compatible adapter and the manufacturer permits it. Inflate slowly and measure frequently.
Can I use an electric pump?
A compatible low-pressure electric inflator can work for some balls, but it can add air quickly. Use short bursts and stop frequently to measure.
Why does my stability ball get softer overnight?
A new ball may continue stretching after initial inflation, and temperature changes can also affect how firm it feels. Recheck the diameter before adding more air.
Should my knees be at 90 degrees when sitting on a stability ball?
A position near 90 degrees is commonly used as a general fit reference, but it is not a universal rule. Body proportions, ball compression, and the intended exercise all matter.
Can I make a small stability ball taller by overinflating it?
No. If the ball is too small at its intended diameter, use a larger size rather than exceeding the manufacturer’s stated limit.
Final Stability Ball Inflation Checklist
- The ball and valve show no visible damage.
- You confirmed the manufacturer’s target diameter.
- The pump nozzle fits without being forced.
- The ball was inflated gradually.
- The finished diameter matches the stated size.
- The plug is fully seated.
- The ball has some controlled give rather than feeling rock hard.
- A supported seated fit check feels stable and appropriate.
Continue With Your Stability Ball
Once your ball is inflated to the correct diameter, these guides can help you choose exercises and get more from the equipment.
- Stability Ball Size Chart — confirm whether 45, 55, 65, or 75 cm is the better fit.
- Best Stability Balls for Exercise — compare current full-round exercise balls.
- 15 Stability Ball Exercises — build a full-body routine.
- Stability Ball Ab Exercises — focus on controlled core training.
- Stability Ball Office Chairs — understand the tradeoffs before using a ball at a desk.
- Half Ball vs. Full Stability Ball — compare equipment styles.
Visit the Balance & Stability Balls Hub for all Balance Foundry workouts, comparisons, buyer guides, and setup help.
Leave a Reply