
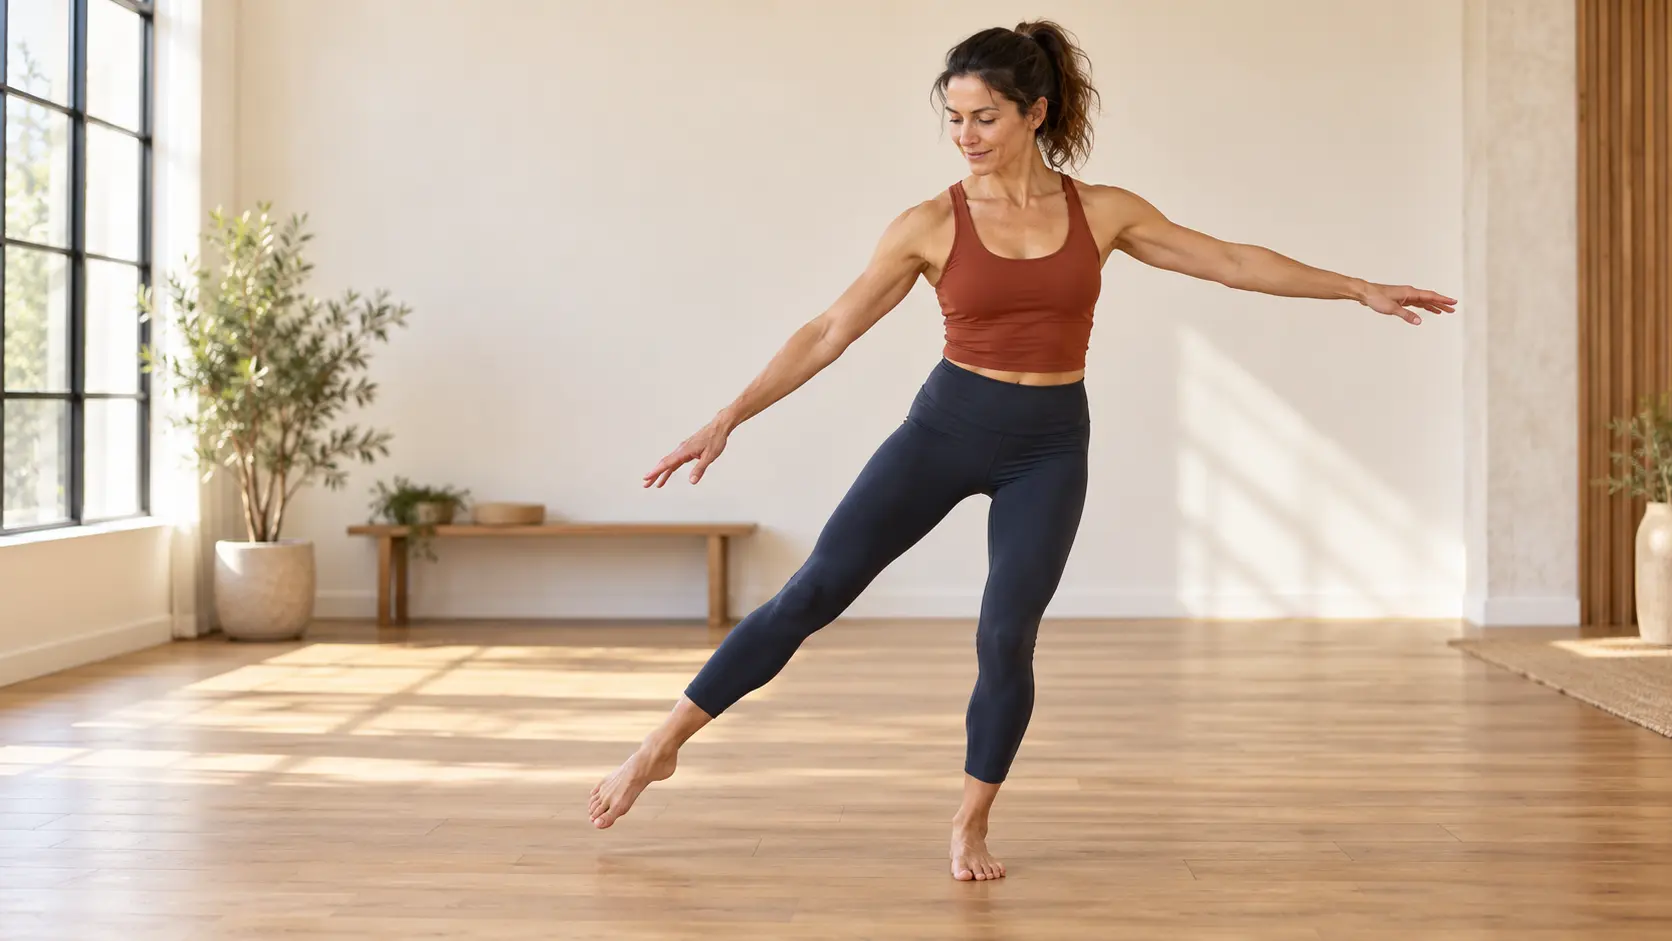
Single-leg balance is the ability to maintain control while most or all of your weight is supported by one leg. It combines foot and ankle control, hip stability, coordination and body awareness in a skill that carries over to walking, hiking, climbing stairs and many athletic movements.

What Is Single-Leg Balance?
Single-leg balance describes your ability to organize your body over one supporting foot. Although the position may look simple, your body is making continual adjustments through the foot, ankle, knee, hip and trunk.
Your nervous system also combines several sources of information:
- Vision helps you understand your position relative to the surrounding environment.
- The vestibular system provides information about head movement and orientation.
- Proprioception helps you recognize the position of your joints and body without watching every movement.
- Pressure through the foot helps your body detect shifts in weight and contact with the ground.
When these systems work together, you can make small corrections before a loss of balance turns into a step, hop or fall.
Single-leg training belongs within a broader program. Our complete guide to balance exercises covers static, dynamic and multidirectional exercises beyond the single-leg position.
Benefits of Single-Leg Balance Training
Single-leg exercises do not guarantee injury prevention or automatically correct every movement problem. They can, however, provide a practical way to train several abilities that contribute to controlled movement.
Foot and Ankle Control
Balancing on one leg requires continual adjustments around the foot and ankle. These adjustments help you practice maintaining contact with the ground while your weight shifts.
Hip Stability
The muscles around the hip help keep the pelvis organized over the supporting leg. This becomes especially noticeable during reaching, hinging and stepping movements.
Coordination
Single-leg exercises teach different areas of the body to work together. The standing leg provides support while the arms, torso and free leg move independently.
Movement Confidence
Progressive practice can make single-leg positions feel more familiar during activities such as stepping over an obstacle, climbing stairs or walking on uneven ground.
Single-leg control may be particularly relevant during hiking, running and field sports because these activities repeatedly transfer body weight from one leg to the other.
Proper Single-Leg Balance Form
There is no single perfect position for every exercise, but these general cues provide a useful starting point:
- Stand tall without locking the supporting knee.
- Maintain broad contact through the heel and front of the foot.
- Keep the toes relaxed rather than aggressively gripping the floor.
- Keep the pelvis relatively level.
- Allow the supporting ankle to make small corrections.
- Keep the knee generally aligned with the middle of the foot.
- Look at a stable point in front of you.
- Continue breathing normally.
Foundation Single-Leg Balance Exercises
1. Supported Single-Leg Stand
Stand beside a sturdy chair or countertop. Shift your weight onto one foot and lift the other foot slightly from the floor. Use enough hand support to maintain a steady position.
Start with: 3 holds of 10–20 seconds per side.
2. March and Hold
Stand tall and slowly lift one knee toward hip height. Pause for two or three seconds before lowering the foot and changing sides.
Start with: 6–10 alternating repetitions.
3. Three-Way Toe Tap
Stand primarily on one leg. Use the free foot to tap the floor in front of you, beside you and behind you. Return the free foot toward the center between directions.
Start with: 3–5 rounds per side.
Exercises That Build Single-Leg Control
4. Unsupported Single-Leg Hold
Stand near a support without holding it. Shift onto one leg and lift the opposite foot. Keep your shoulders, hips and standing foot facing forward.
Start with: 3 holds of 15–30 seconds per side.
5. Single-Leg Clock Reach
Imagine several clock positions around your standing foot. Reach your free foot toward one position, lightly tap the floor and return to the center before changing direction.
Start with: 4–6 directions per side.
6. Single-Leg Hinge
Stand on one leg with the knee slightly bent. Push your hips backward while your torso leans forward and the free leg extends behind you. Return to standing by extending the supporting hip.
Start with: 5–8 repetitions per side.
Limited ankle mobility can make reaching and squatting more difficult. If your heel lifts or your ankle feels restricted, explore these ankle dorsiflexion exercises.
Advanced Single-Leg Balance Exercises
7. Supported Eyes-Closed Hold
Stand beside a secure support. Establish a steady single-leg position with your eyes open. Close your eyes briefly while maintaining light hand contact.
Start with: 3–5 holds of 5–10 seconds per side.
8. Hop and Stick
Perform a small forward hop and land softly on one foot. Hold the landing for two or three seconds before resetting. Begin with a very short distance.
Start with: 3–5 landings per side.
9. Supported Single-Leg Squat
Stand on one leg while holding a stable support. Push your hips slightly backward and bend the standing knee to lower through a controlled range. Press through the foot to return to standing.
Start with: 4–8 repetitions per side.
How to Progress Single-Leg Balance
Progressing gradually gives your body time to adapt and makes it easier to maintain useful movement quality. Change one variable at a time.
Reduce hand support
Move from a firm grip to light fingertips and then no hand assistance. Keep the support close enough to reach if needed.
Increase the hold time
Add five seconds at a time instead of immediately doubling the duration. Stop the set when hopping or large upper-body movements become necessary.
Add arm or leg movement
Reaching changes your center of mass and requires the supporting leg to manage a moving load.
Change direction
Forward, lateral, diagonal and rotational movements each create a different control problem.
Add controlled speed
Progress from slow reaches to deliberate steps, landings and direction changes. Faster is appropriate only after the position remains organized at a slower speed.
Reduce visual information
Eyes-closed work should be introduced last, with a secure support and controlled environment. Reduced vision is not necessary for every person or every goal.
A 12-Minute Single-Leg Balance Workout
Complete this routine two or three times per week. Use support as needed and rest longer if fatigue begins to affect your form.
| Exercise | Amount | Rest | Training focus |
|---|---|---|---|
| Supported single-leg stand | 20 seconds per side | 20 seconds | Static control |
| March and hold | 8 repetitions per side | 20 seconds | Weight transfer |
| Three-way toe tap | 4 rounds per side | 30 seconds | Directional control |
| Clock reach | 4 directions per side | 30 seconds | Reach control |
| Single-leg hinge | 6 repetitions per side | 30 seconds | Hip and trunk control |
Complete one or two rounds. Beginners can perform the entire session with fingertip assistance. More experienced users can replace the supported hold with hop-and-stick repetitions or supported single-leg squats.
Common Single-Leg Balance Mistakes
Gripping the floor with your toes
Your toes should help maintain contact, but aggressively curling them can create unnecessary tension. Think about spreading pressure across the heel and front of the foot.
Locking the supporting knee
A rigid knee may reduce your ability to make small adjustments. Maintain a soft knee unless a specific exercise requires a different position.
Allowing the pelvis to rotate
During hinges and reaches, the free side of the pelvis may turn outward. Reduce the range and keep both sides of the pelvis more level.
Using momentum
Moving quickly through toe taps or reaches can hide a lack of control. Pause briefly at the center before changing direction.
Progressing directly to unstable equipment
Master the basic movement on stable flooring first. A moving platform changes the exercise and should be treated as a separate progression.
When to Add a Balance Board
A balance board can add movement beneath the supporting foot, increasing the need for active ankle and hip corrections. That does not mean every single-leg exercise should be performed on a board.
Start with two feet and learn how the board moves before attempting a single-leg variation. Our guide to the best balance boards for ankle strength explains how different board designs affect the challenge.
New users should first work through these beginner balance-board exercises. Keep a support nearby and avoid jumping directly to advanced single-leg board drills.
Frequently Asked Questions
How long should I be able to balance on one leg?
There is no single hold time that applies equally to everyone. Age, health, training experience, footwear, surface and testing method can all affect the result. Use hold time to monitor your own progress rather than treating it as a diagnosis.
How often should I practice single-leg balance?
Two or three focused sessions per week is a practical starting point. Short supported holds can also be practiced more frequently when they do not cause excessive fatigue.
Should I practice with my eyes closed?
Eyes-closed practice is an advanced variation. Begin with your eyes open and use a stable support. Reduced-vision exercises may not be appropriate for everyone.
Should I practice barefoot?
Barefoot practice can provide more direct sensory feedback from the floor, but it is not required. Use a nonslip surface and choose footwear based on your environment, comfort and individual needs.
Why is one leg less stable than the other?
Small differences between sides are common. Previous injuries, strength, mobility, coordination and familiarity with the task can all contribute. Seek professional evaluation if the difference is sudden, severe or accompanied by pain or neurological symptoms.
Can single-leg balance improve ankle strength?
Single-leg exercises challenge the muscles that help organize the foot and ankle. For a more complete strength program, combine balance work with appropriate calf, foot, hip and lower-body strengthening exercises.
Build the Position Before Adding Complexity
Single-leg balance improves through progressive exposure, not by immediately choosing the hardest variation. Begin with support, develop a steady hold and then introduce reaching, hinging, stepping and landing.
Once you can maintain control on stable flooring, balance equipment can provide another progression. The goal is not to eliminate every small movement. It is to remain organized while your body makes the adjustments required to keep you upright.
Leave a Reply