
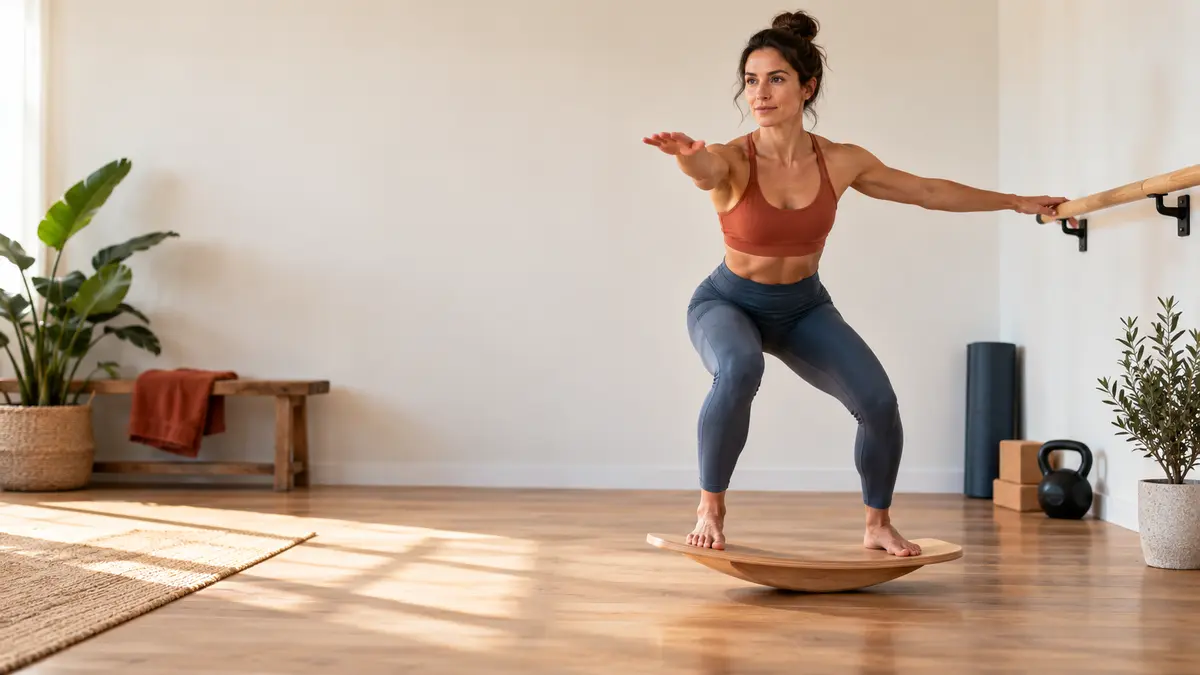
A good balance board progression changes one variable at a time. You might reduce hand support, narrow your stance, increase board movement or add an external task—but doing all four at once turns practice into survival.
Before you begin
Place the board on a hard, nonslip surface with a wall, rail or counter within reach. Review how to use a balance board safely and start with the most predictable movement pattern your board allows.
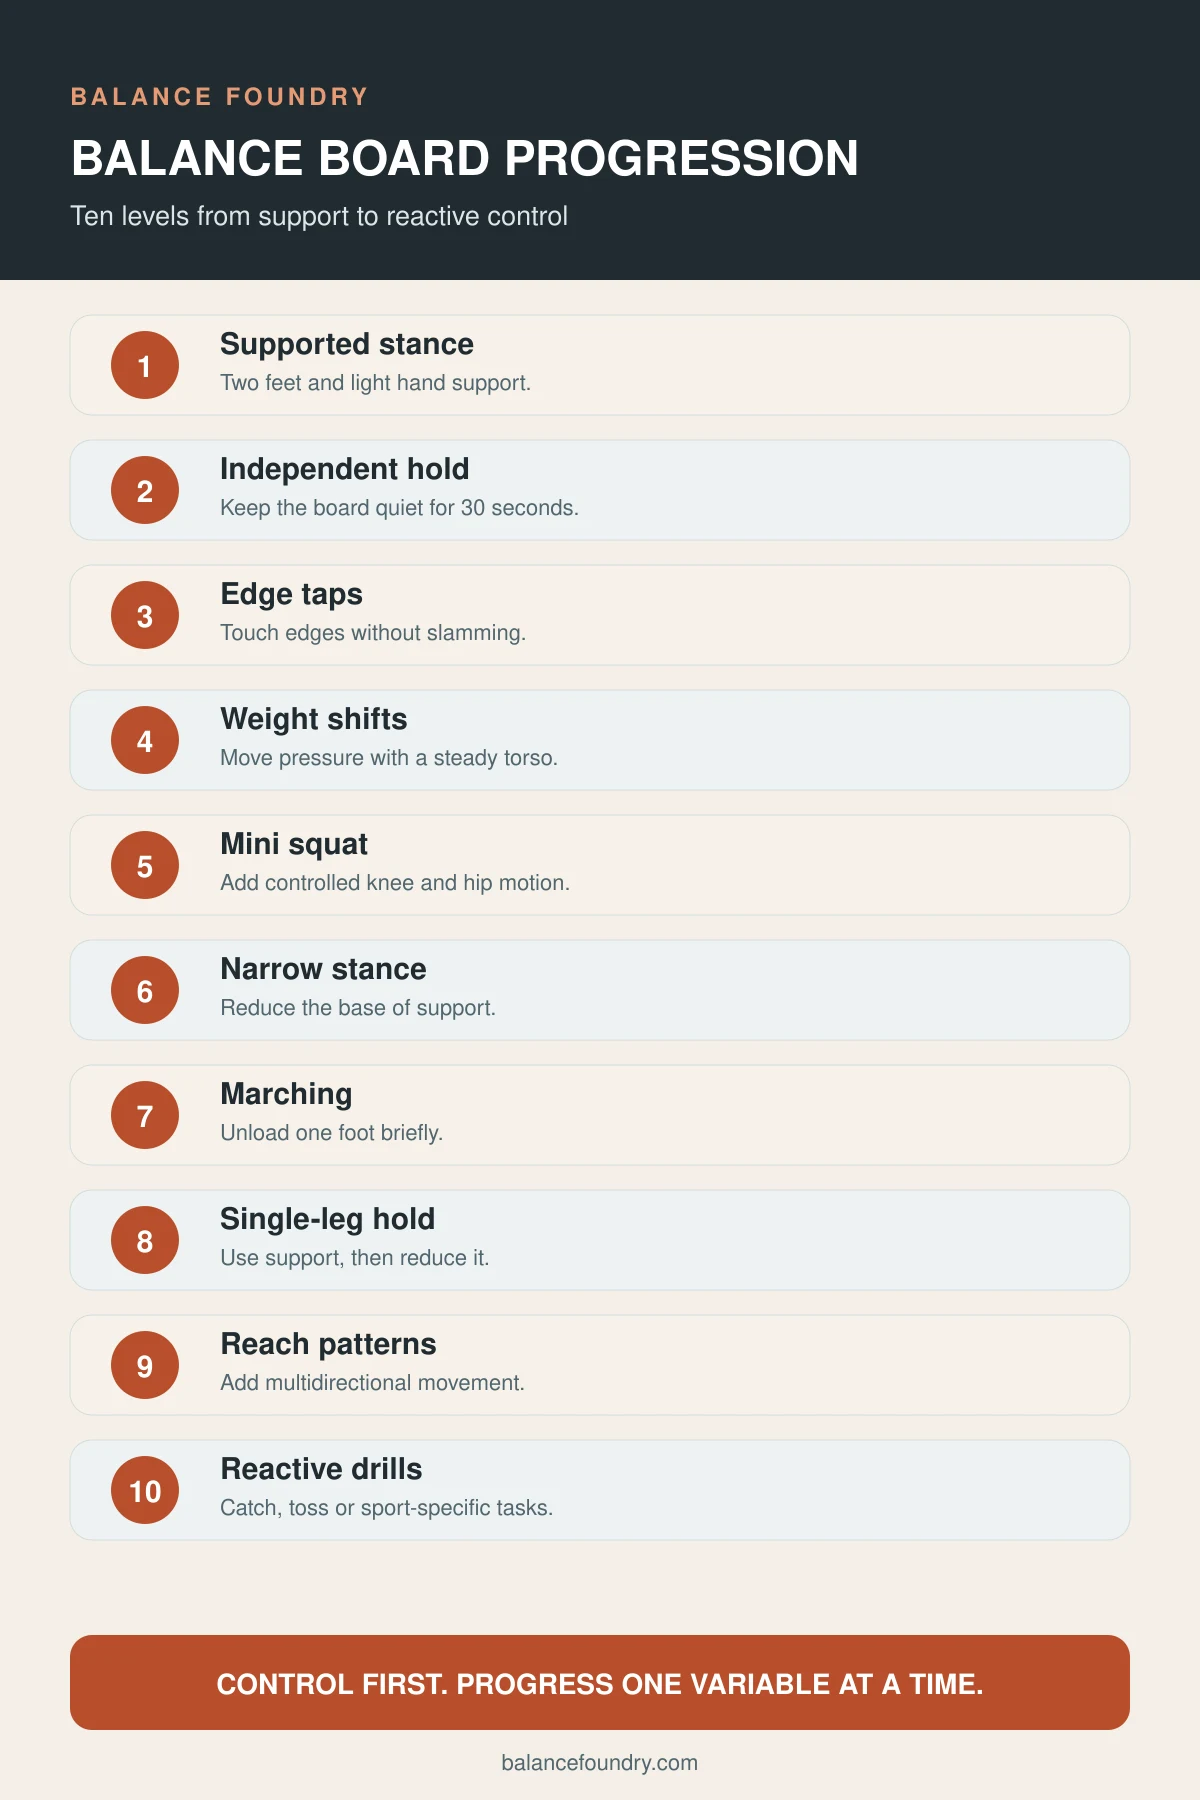
The 10-level balance board progression
Level 1: Supported two-foot stance
Use both feet and light fingertip support. Practice finding the middle without squeezing the board with your toes.
Level 2: Independent hold
Hover your hands over the support and maintain a two-foot stance for 20 to 30 seconds. Small corrections are expected.
Level 3: Controlled edge taps
Touch one edge to the floor and return to center. On a rocker board, work front-to-back first. On a wobble board, add side directions later.
Level 4: Weight shifts
Move pressure toward several points without necessarily touching the edge. Keep the head and chest relatively quiet.
Level 5: Mini squat
Add a shallow squat while controlling the board. Use a range that lets your feet remain connected to the surface.
Level 6: Narrow stance
Bring the feet slightly closer together. Do not use a heel-to-toe stance until the board and your skill level make it appropriate.
Level 7: Alternating march
Shift weight and briefly float one foot. Keep the pelvis level and avoid a sudden push from the stance leg.
Level 8: Supported single-leg hold
Center one foot and use hand support. Gradually reduce assistance instead of abruptly removing it.
Level 9: Reach patterns
Add hand or free-foot reaches. The balance board reach matrix gives you a structured multidirectional drill.
Level 10: Reactive or sport-specific tasks
Catch a light ball, respond to simple cues or rehearse a controlled sport position. These tasks are advanced because attention shifts away from the board.
How to decide when to progress
| Ready to progress | Stay at the current level |
|---|---|
| Breathing stays steady | You hold your breath or tense your shoulders |
| Corrections are small | The board repeatedly slams into the floor |
| You can stop the drill safely | You need to jump off the board |
| Both sides feel controlled | One side gives way or produces pain |
Programming a session
Choose two or three drills. Complete two or three short sets and stop before fatigue disrupts technique. Beginners can start with the balance board exercises for beginners. Athletes can later connect the progression to the demands covered in balance board training for athletes.
Board type matters. Rocker, wobble and roller designs create different movement options and learning curves. Review the types of balance boards before comparing your progress with someone using different equipment. If you need a board, start with the best balance boards guide.
The five progression variables
You can progress a balance drill by changing support, stance, movement, vision or attention. Change only one variable at a time. For example, keep a two-foot stance while adding a reach, or keep the drill static while narrowing the stance. If you narrow the stance, close your eyes and add a ball toss simultaneously, you will not know which variable caused technique to break down.
Support
Two hands, fingertips, hovering hands, then independent balance.
Base of support
Wide stance, normal stance, narrow stance and single-leg stance.
Movement
Static hold, controlled shift, squat, reach and step.
Attention
Fixed focus, head turns, object carry, catch or response cue.
Example three-day practice week
Day one: Independent holds, front-to-back taps and mini squats. Day two: Weight shifts, marching and a narrow stance. Day three: Repeat the weakest foundation drill and add supported single-leg work or reach patterns. Each session can remain under 15 minutes.
More work is not always better. The nervous system learns the movement you repeatedly perform. End the set when repeated hopping, toe gripping or edge slamming changes the task.
Board-specific progression
On a rocker board, progress through the primary axis before changing foot direction. On a wobble board, learn four-point control before circles and reaches. On a roller board, keep physical support close and begin with travel limiters or a low-friction setup recommended by the manufacturer. Roller boards have a different risk profile and should not be treated as an automatic next step after a wobble board.
Frequently asked questions
How long should I stay at each level?
There is no required timeline. Progress when you repeatedly meet the control criteria, not because a certain number of days has passed.
Is closing my eyes a good progression?
It makes the task substantially harder by removing visual input. Use it only after strong open-eye control and with secure support nearby.
Do I need to reach level 10?
No. The best stopping point depends on your goals. A desk user and a board-sport athlete do not need the same endpoint.
Research used
- Balance-training progression styles
- Exercise sequence for balance-training progression
- Balance training and selected performance measures
Health note: This article is for general education and is not a diagnosis or individualized medical advice. Stop if an exercise causes sharp pain, swelling, numbness or instability, and consult a qualified professional when appropriate.
Leave a Reply