
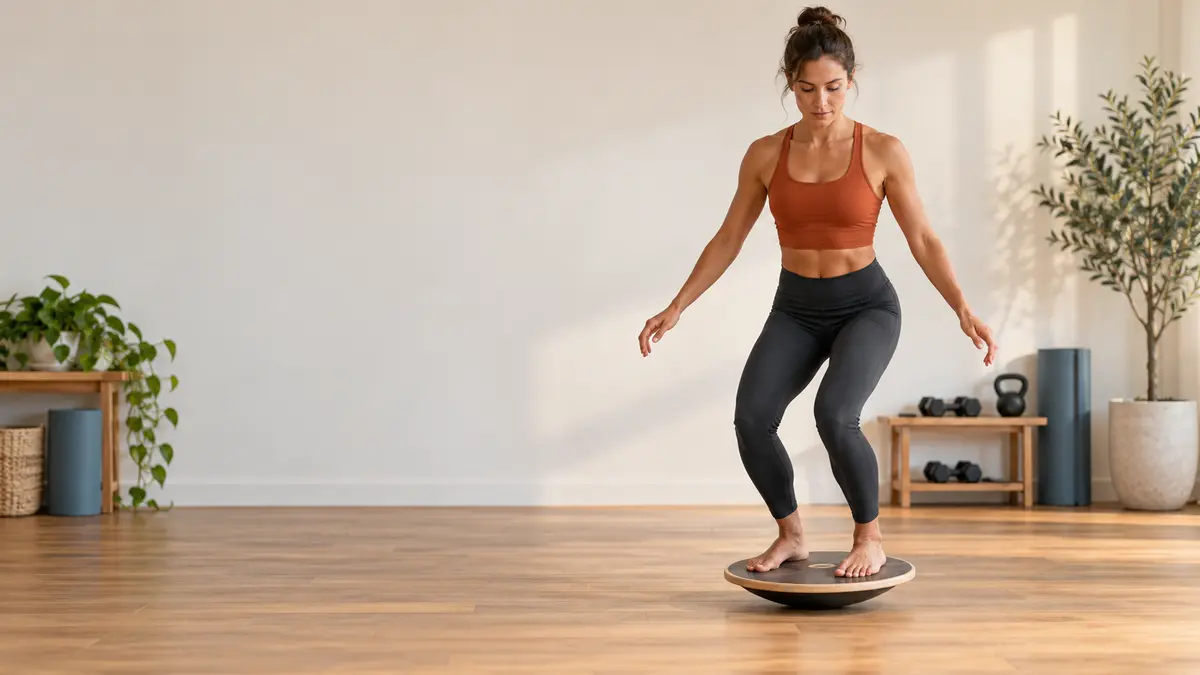
Balance board ankle exercises challenge the muscles around the foot and lower leg to manage small changes in board position. The goal is not to make the board move as much as possible. The goal is to create only as much movement as you can control.
Why use a balance board for ankle training?
An unstable surface creates repeated demands for plantar flexion, dorsiflexion, inversion and eversion control. Research has found that wobble-board training can change ankle movement discrimination and aspects of postural control, but results depend on the population and program. Treat the board as one training tool, not a guaranteed injury-prevention device.
If you are still selecting equipment, compare the best balance boards for ankle strength. New users should first review balance-board setup and safety.

10 balance board ankle exercises
1. Supported two-foot stance
Stand near a stable support with feet about hip-width apart. Lightly touch the support and bring the board close to level. Hold for 20 to 30 seconds without locking your knees.
2. Front-to-back edge taps
Lower the front edge toward the floor, return through center and then lower the back edge. Use the ankles instead of rocking the torso.
3. Side-to-side edge taps
Touch one side gently, return to center and repeat on the other side. Keep both knees tracking with the toes.
4. Clock pressure shifts
Imagine numbers around the board. Shift pressure toward 12, 3, 6 and 9 o’clock without rushing between points.
5. Balance board mini squat
Keep the board near level as you sit down a few inches. Stand tall without snapping the knees straight. Reduce depth if the edges slam into the floor.
6. Controlled calf raise
With support available, lift both heels slowly and lower them over two or three seconds. Keep pressure distributed across the big-toe mound, little-toe mound and heel.
7. Alternating march
Transfer weight to one side and float the opposite foot briefly. Switch sides without leaning sharply or holding your breath.
8. Supported single-leg hold
Place one foot near the center and keep fingertips on a support. Build clean 10- to 20-second holds before reducing assistance.
9. Reach matrix
Stand on the board and reach the free foot or one hand toward several targets. Follow the full balance board reach matrix when you are ready for multidirectional control.
10. Catch and toss
Use a light ball and a nearby partner or wall. Begin with predictable chest-height throws. Reactive drills belong at the end of the progression, not the beginning.
Programming the exercises
| Level | Exercises | Starting dose |
|---|---|---|
| Beginner | Supported stance and edge taps | 2–3 rounds of 20–30 seconds |
| Developing | Clock shifts, mini squats and marching | 2–3 sets of 6–10 controlled repetitions |
| Intermediate | Single-leg holds and reach matrix | 2–3 rounds per side |
| Advanced | Catch and toss or sport-specific tasks | Short sets while technique stays clean |
For a broader entry point, use the beginner balance-board exercise guide. The best balance boards page explains how rocker, wobble and roller designs change the challenge.
Common mistakes
- Starting with single-leg work before mastering a two-foot stance.
- Using large, fast board movements instead of quiet corrections.
- Letting the foot roll to its outer edge.
- Training to exhaustion, when control has already deteriorated.
- Using an unstable board while recovering from an injury without appropriate guidance.
How to make a drill easier or harder
| Variable | Easier | Harder |
|---|---|---|
| Support | Two hands or firm fingertip support | Hovering hands, then no support |
| Stance | Wide two-foot stance | Narrow, staggered or single-leg stance |
| Board | Rocker board with limited travel | Multidirectional wobble board |
| Task | Static hold | Reach, squat, march or catch |
| Vision | Eyes focused on a fixed point | Head turns or reduced visual reliance |
A 12-minute ankle-control session
Warm up with one minute of ankle circles and slow calf raises. Perform supported stance, front-to-back taps and side taps for two rounds of 30 seconds each. Rest briefly, then complete two sets of six mini squats and two supported single-leg holds per side. Finish with the reach matrix only if the earlier drills stay controlled.
This structure keeps volume modest and gives you a clear place to stop. Add difficulty at the next session rather than turning the final set into a test of how long you can avoid falling.
Who should be more cautious?
Use extra support and professional guidance if you have recently sprained an ankle, have unexplained dizziness, reduced sensation in the feet, significant joint pain or a history of falls. A balance board is optional equipment. Stable-floor strength and balance work can be a better starting point.
Frequently asked questions
How often can I use a balance board for ankle exercises?
Two or three short sessions per week is a reasonable starting point. Brief technique practice may be done more often if it does not create pain or lingering fatigue.
Is a rocker board or wobble board better?
A rocker board usually offers a more predictable axis. A wobble board adds multidirectional tilt and often requires more control.
Should my ankles feel sore afterward?
Mild muscular fatigue can occur, but sharp pain, swelling or a sense of giving way is a reason to stop and seek qualified guidance.
Research used
- Balance-board training and recurrent ankle sprains
- Balance training, function and postural control
- Wobble-board training and landing neuromechanics
Health note: This article is for general education and is not a diagnosis or individualized medical advice. Stop if an exercise causes sharp pain, swelling, numbness or instability, and consult a qualified professional when appropriate.
Leave a Reply