
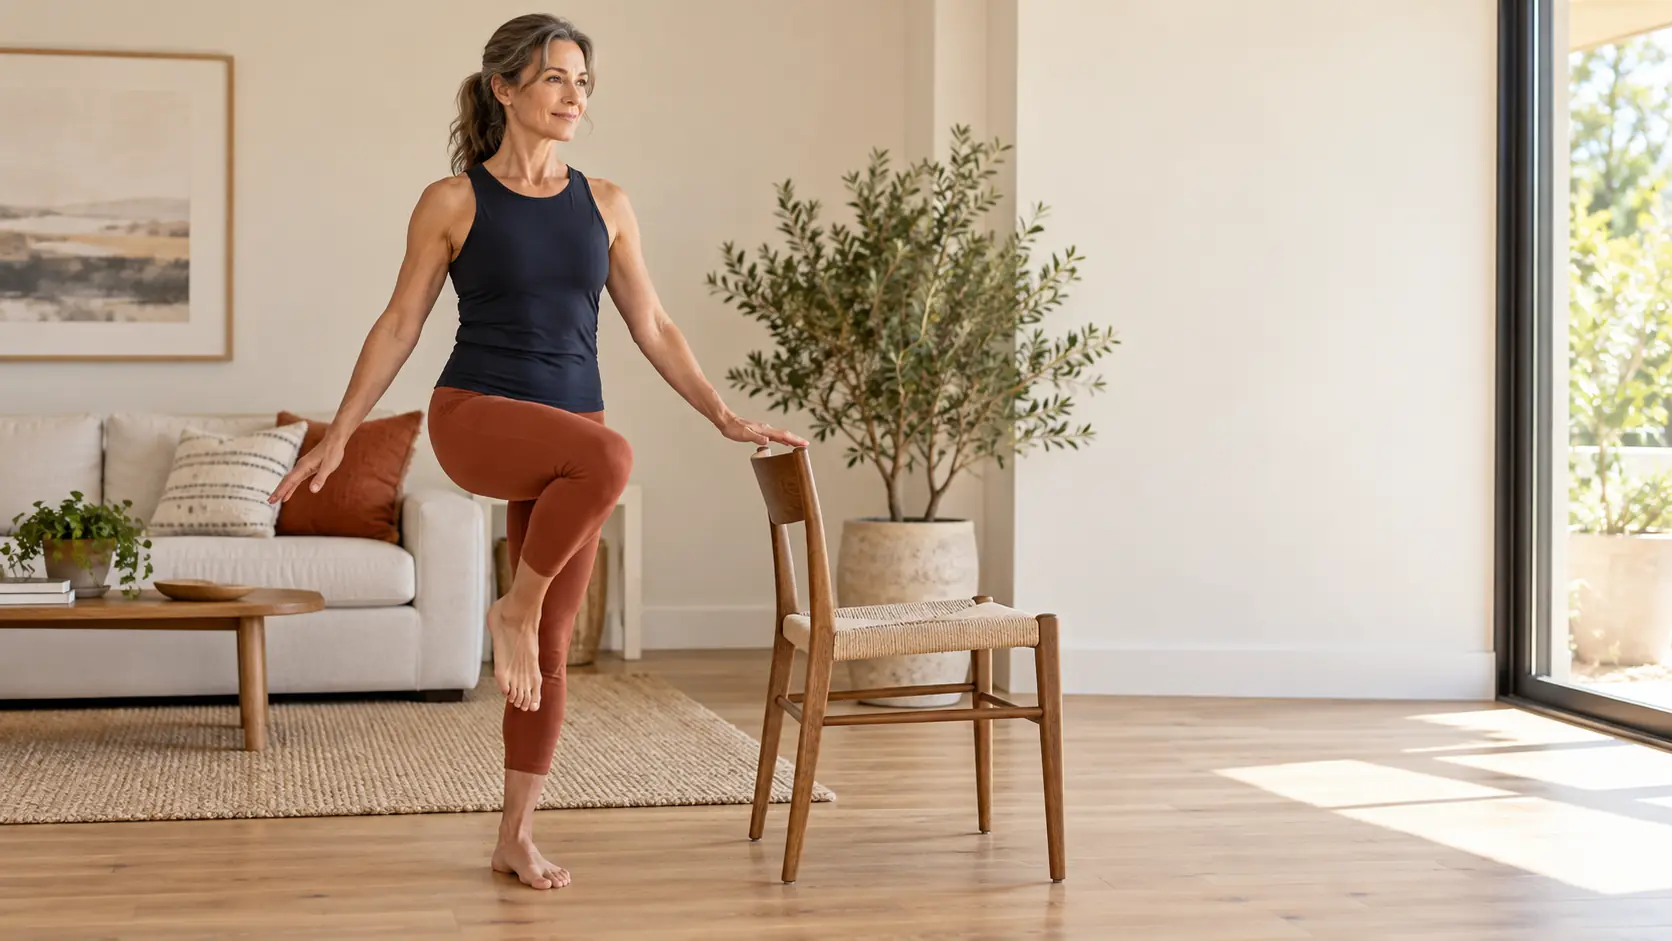
A home balance test can help you observe changes in standing control, side-to-side differences and how much support you need. It cannot diagnose the reason for a balance problem or determine your fall risk by itself.

What Can an At-Home Balance Test Tell You?
A simple balance self-check can show how your performance changes over time. It may help you notice:
- How long you can maintain a position.
- Whether one side feels less controlled than the other.
- How often you need to touch a support.
- Whether you take extra steps to regain balance.
- How easily you can rise from a chair.
- Whether the same task is becoming easier or more difficult.
The results do not explain why you performed a certain way. Balance can be affected by fatigue, pain, footwear, vision, medication, illness, the testing surface, previous injuries and many medical conditions.
If you want exercises instead of assessments, start with our complete guide to balance exercises. The exercises and tests should remain separate: a test observes performance, while training is intended to improve a skill over time.
How to Set Up a Home Balance Test Safely
Prepare the area before starting. Do not assume that you can catch yourself once you begin losing balance.
- Clear the floor. Remove rugs, cords, pets, weights, furniture and other trip hazards.
- Use a firm, level surface. Do not perform the initial checks on foam, a balance board or another unstable surface.
- Stand near stable support. Use a countertop, heavy table or securely mounted railing.
- Ask someone to stay nearby. A helper should be close enough to assist without distracting you.
- Keep your eyes open. Eyes-closed testing creates a substantially different challenge and is not part of this basic self-check.
- Use consistent footwear. Test barefoot or in the same secure footwear each time, based on what is safe for you.
- Use a timer. A phone stopwatch works, but a helper should operate it if looking at the screen would affect your position.
Perform the tests when you are alert and not unusually fatigued. Avoid testing immediately after strenuous exercise, alcohol consumption or anything else that may temporarily affect your balance.
Feet-Together Balance Test
The feet-together hold creates a narrower base of support than normal standing while keeping both feet on the floor. It is the most approachable check in this sequence.
How to perform it
- Stand beside a countertop or other stable support.
- Place your feet together or as close together as you can safely manage.
- Stand tall with your knees relaxed and your eyes open.
- When steady, reduce hand support without moving away from the counter.
- Start the timer.
- Stop if you move your feet, grab the support or reach your predetermined time limit.
For personal tracking, you can use a maximum of 30 seconds. That limit is simply a convenient way to standardize your log; it is not a diagnostic cutoff.
Tandem Stance Balance Test
A tandem stance places one foot directly in front of the other. This narrows the base of support and creates a greater challenge in the side-to-side direction.
How to perform it
- Stand beside a stable counter.
- Place the heel of one foot directly in front of the toes of the other foot.
- Use your hand to become steady before starting.
- Keep your eyes open and look at a fixed point.
- Release or lighten your hand support when ready.
- Stop if your feet move, you grab support or you reach your planned maximum.
- Repeat with the opposite foot in front.
If heel-to-toe positioning is too difficult, begin with a staggered or semi-tandem stance. Record the exact foot position so you can reproduce it later.
Single-Leg Balance Test
The single-leg stand removes one foot from the base of support and increases the demand on the standing foot, ankle, hip and trunk.
How to perform it
- Stand beside a stable counter with your feet approximately hip-width apart.
- Shift your weight onto one leg.
- Lift the other foot just above the floor.
- Keep the standing knee relaxed rather than locked.
- Reduce hand pressure only when you feel steady.
- Stop if the lifted foot touches down, the standing foot moves or you grab the support.
- Repeat on the other side.
A 30-second maximum is sufficient for a basic personal log. Longer holds can turn the check into an endurance exercise and do not necessarily provide more useful information.
Do not be alarmed by a small difference between sides. Previous injuries, familiarity with the task and natural side preference can affect performance. A new or substantial change deserves more attention than a minor difference.
For exercises that build this skill, visit Single-Leg Balance: Benefits, Exercises and Progressions.
Five Controlled Chair Stands
Chair stands are not a pure static-balance test. They provide a simple look at how you coordinate standing and sitting, including leg strength, weight transfer and control.
How to perform it
- Use a firm chair placed against a wall so it cannot slide.
- Sit with your feet flat on the floor.
- Use your hands if you need them, but record that assistance.
- Stand fully without rushing.
- Sit down under control rather than dropping into the chair.
- Repeat until you have completed five controlled repetitions.
- Stop if you feel pain, dizziness or sudden unsteadiness.
This five-repetition self-check is intended for personal tracking. It is not the same as the CDC’s standardized 30-second Chair Stand Test, which uses specific procedures and interpretation.
How to Record Your Balance-Test Results
Consistency is more important than chasing a particular score. Record enough detail to recreate the test later.
Testing conditions
- Date and approximate time
- Footwear or barefoot
- Floor surface
- Support used
- Recent exercise or unusual fatigue
Performance details
- Hold time or completion time
- Left and right results
- Foot touches or extra steps
- Hand-support touches
- Pain, dizziness or unusual symptoms
| Self-check | Result | Support used | Errors or observations |
|---|---|---|---|
| Feet-together hold | _____ seconds | None / fingertips / hand | Foot movement, sway or touches |
| Tandem stance—left foot forward | _____ seconds | None / fingertips / hand | Steps, touches or position changes |
| Tandem stance—right foot forward | _____ seconds | None / fingertips / hand | Steps, touches or position changes |
| Single-leg stand—left | _____ seconds | None / fingertips / hand | Foot touches or extra steps |
| Single-leg stand—right | _____ seconds | None / fingertips / hand | Foot touches or extra steps |
| Five chair stands | _____ seconds | Hands / no hands | Incomplete stands or loss of control |
Retest every two to four weeks rather than every day. Frequent retesting can measure familiarity with the test more than a meaningful change in balance.
How These Self-Checks Relate to Clinical Balance Tests
Healthcare professionals may use standardized assessments as part of a broader evaluation. Common examples from the CDC’s STEADI program include:
Four-Stage Balance Test
This clinical assessment uses four progressively harder positions: feet side by side, semi-tandem, tandem and one-leg standing. The CDC protocol calls for the person administering the test to remain ready to assist.
Timed Up and Go Test
The Timed Up and Go test evaluates functional mobility. The person stands from a chair, walks 10 feet, turns, returns and sits down. The CDC instructions specifically state that someone should remain with the person for safety.
Thirty-Second Chair Stand Test
This test measures how many complete chair stands can be performed in 30 seconds using a standardized chair and defined arm position. Results are interpreted using the appropriate clinical protocol.
What Can Affect Your Balance-Test Results?
- Fatigue: Tired legs and reduced concentration may shorten hold times.
- Footwear: Heel height, cushioning, fit and traction change contact with the floor.
- Vision: Lighting and visual focus affect orientation.
- Surface: Carpet, hard flooring and uneven surfaces create different demands.
- Pain: Discomfort may change how you load one side.
- Medication: Some medications can contribute to dizziness, sedation or blood-pressure changes.
- Illness or dehydration: Temporary health changes can affect performance.
- Practice: Repeating a test frequently can improve familiarity without reflecting a broader change.
When Should You Seek Professional Help?
The National Institute on Aging recommends speaking with a doctor if you think you have a balance problem. Professional evaluation is especially important when a change is new, unexplained or interfering with daily activities.
Contact a qualified healthcare professional if you experience:
- A recent fall or repeated near-falls.
- New or worsening dizziness.
- A sudden change in walking or coordination.
- Balance problems after a head injury.
- New weakness, numbness or vision changes.
- Difficulty standing from a chair that is worsening.
- A substantial new difference between your left and right sides.
- Fear of falling that limits normal activity.
What Should You Do After Testing?
If the self-checks feel safe and you want to improve, begin with exercises that match your current ability. Do not train by repeatedly performing only the hardest test.
- Use the balance exercise progression for general training.
- Practice the single-leg balance progression if one-leg control is your priority.
- Visit the mobility hub if joint motion is limiting your stance or reaching ability.
- Use these ankle dorsiflexion exercises if restricted ankle movement affects squatting or forward reach.
Start with stable-floor exercises. Balance boards, foam pads and half balls can be added later when they serve a clear purpose.
Frequently Asked Questions
How long should I be able to balance on one leg?
There is no universal time that applies equally to everyone. Age, health, footwear, surface, test position and instructions all affect the result. Use a consistent method to track your own performance and discuss concerns with a healthcare professional.
Should I test my balance with my eyes closed?
Not for a basic home self-check. Closing your eyes removes important visual information and can substantially increase the challenge. Reduced-vision testing should be approached cautiously and may require professional supervision.
Should I test barefoot or in shoes?
Use whichever option is safest and most relevant to your goal. More importantly, use the same footwear condition when comparing results over time.
How often should I retest?
Every two to four weeks is usually enough for personal tracking. Testing every day may mostly measure familiarity, fatigue and normal daily variation.
Does a good test result mean I will not fall?
No. Falls can involve environmental hazards, medications, vision, blood-pressure changes, strength, judgment and medical conditions. A single balance result cannot establish that someone has no fall risk.
Can a balance board be used for testing?
A balance board can measure performance on that specific board, but it is not a substitute for a standardized balance assessment. Perform basic self-checks on a firm, stable surface.
Use Home Testing as a Tracking Tool
A home balance test is most useful when the setup stays consistent and the results are treated as observations—not grades. Record your position, time, support and any extra steps. Look for changes across several testing sessions rather than placing too much importance on one attempt.
If your balance has changed suddenly, you have fallen or you are worried about the results, stop self-testing and speak with a qualified healthcare professional.
Leave a Reply